How do I conduct my research?
Continuing our report on planning the perfect Disney holiday.
The worst thing you can do with a holiday to Orlando is just arrive with no plan. Once you have booked your flights and accommodation you should start researching. You’re wondering why you would need to research a holiday? Because you want to ensure you have the best possible experience, this is a holiday for creating memories after all.
Choose which parks – look at all the parks in Orlando and decide which ones are a must for your family. Once you’ve chosen which parks you need to go through and decide which rides you will want to do. List them in priority. If you have children don’t forget to measure them and check against the relevant rides to see if they are tall enough.


Work out what days to visit which parks – use the DIBB busy day guide which gives predicted crowd levels at each park. It also categories the parks each day into most recommended / recommended / least recommended.

Crowd Calendar – I also recommend using Touring Plans crowd calendar to again work out which park on which day. There is an annual subscription of $12.95 which is well worth it.


Community Spirit – I used the chat forums and facebook group for The DIBB and Touring Plans, this was invaluable as there is always someone with more knowledge. The private April liners group I joined on facebook was fantastic with pre-trip planning but also when I was in Orlando I could ask quick questions and receive instant replies.

Park Tickets – once you know which parks you want to visit you can purchase the tickets! There are a few sites you can use, compare not just the price but also any freebies included within the price. Ours came with a memory maker and photo pass which was invaluable along with $10 per person universal gift card. If staying in a resort hotel you’ll be given your MagicBand when you arrive but if you’re staying non-resort you will be sent an admission card. To understand more about the difference click onto this post by Disney.
We had cards and I used lanyards so we could wear around our necks. When you first arrive you use against the sensor by the entry gates and your fingerprint so no one else can use your ticket or band.

Bloggers – just like the wedding industry there are lots of bloggers dedicated to Disney holidays so do check them out for top tips. My favourites are: WDW Prepschool , Undercover Tourist, All Ears, Mouse Savers, Disney Tourist Blog.

Parks Plans – a few of the blogs have suggested 1 -2-day itineraries for the parks based on couples, those with young children or those with teenagers. So if you don’t want to work it out yourself you can cheat and use one of these plans instead!
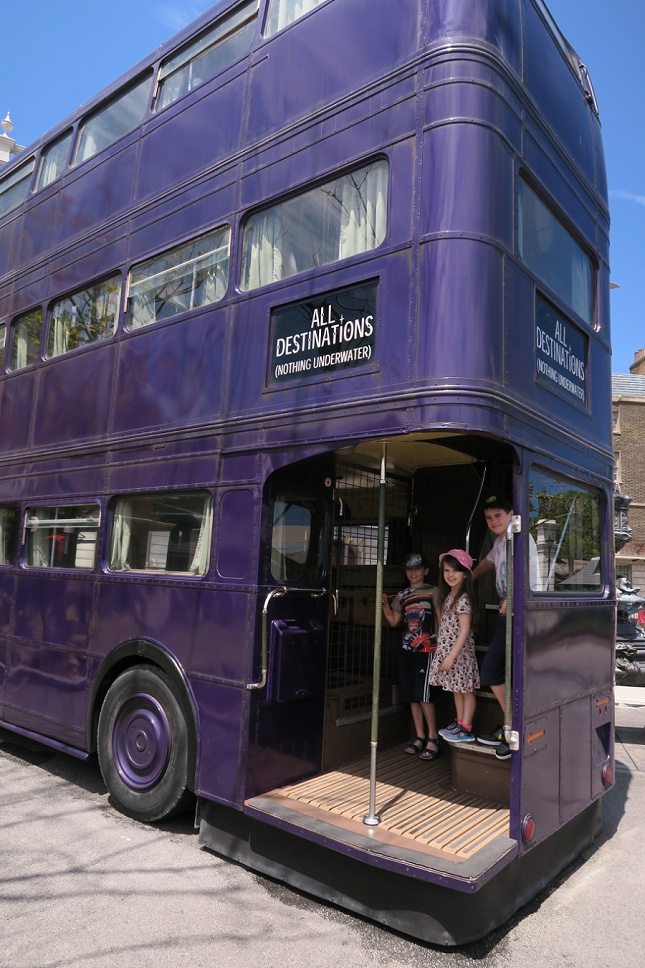
Rider Swap – Don’t forget that you can do parent/rider swap so if you have younger children who aren’t tall enough to ride. Check with staff at the attraction that rider swap is available. One parent rides with children tall enough with the other parent staying behind with remaining child(ren) , staff will give the second parent a ticket they can use enabling them to go straight to the front of the queue when its their time. Read here for more information.

Please note you can create an itinerary for Universal Studios and Island of Adventure but use more as a guide as I found it wasn’t quite as accurate as the Disney plans. Universal Studios also have an app. you can download to help with wait times. They have an express pass enabling you to skip the queues but it is priced at between £46-69 per person depending on the season. This pass cannot be used at the Harry Potter attractions.

Early Magic Hour – On certain days guests staying at a Disney resort have the option on entering the park an hour before regular guests, you want to avoid the parks on those days as it will be too busy. Use MDE to work out when each park offers this service.


Rope Drop – as a family we prefer to be early and as such we always arrive approx.. 30 mins before the park is due to open, also known as “rope drop”. Please note if visiting Magic Kingdom you will park then get on a little shuttle to the monorail which then takes you to the park entrance. Allow 20-30 mins for this. You will find you’ll manage more rides in the first couple of hours then you will the rest of the day.


My 5 step process
- Choose the parks to visit
- Choose best day to visit each park
- Select which rides best suit your family
- Create a custom itinerary using TouringPlans, their super computers work out which rides in which order. And after using both in 2012 and 2016 it works.
- Update said itinerary with your FP+ and ask TouringPlans to reevaluate using the 3 FP+ you have. And voila you have a pretty darn good itinerary to use. See our next disney post for more info on FP+

When I have completed my itinerary I print it off and pop into a display folder which also holds all the relevant information for our holiday. It means I can find villa reservations or car hire documentation much faster and easier, and frankly makes me feel as organised as when running a client’s event.
I will talk all about My Disney Experience & FP+ in my next blog post